
As you may have been able to infer from previous posts I’ve made, I tend to juggle my duties a lot. While I wait on the sound on projectile functionality, I’ve spent the past couple of days getting the outpost dungeon file working with its key. There’s still a couple of items I’m waiting on from George, but it’s complete enough that I can commence work putting together the outpost, so that’s what I spent my day doing.
I typically go through a process of mapping out in my head how a dungeon is going to function before I start actually placing blocks in-game. The first thing I decide is whether this dungeon is going to be predominantly an above ground structure or a sprawling underground one. It sounds like a minor thing, but it changes my design process in some fundamental ways.
First, ensuring the dungeon has a nice unpredictable layout is a good deal easier when it is below ground, as typically I don’t need to worry about whether the structural support makes sense or not, giving me far more leeway to make pieces as big or small as I want. Most underground dungeons can sprawl freely and connect to just about any piece so long as they are not blocked by another existing piece. This also helps to make the layouts less predictable, provided a dungeon has a good number of pieces (see the Avian Temple for example).
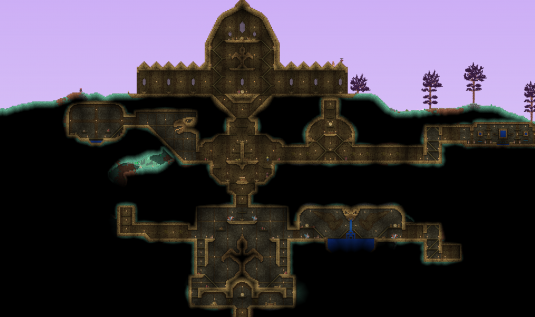
There are distinct downsides to this approach however. Because of the sprawling and highly unpredictable nature of the pieces placed in an underground dungeon, it’s not so uncommon for pieces to be placed in such a way that they turn back on themselves, resulting in abrupt ends where it won’t even place a proper wall. These necessitate me creating what I’ve taken to calling “end caps”, that are in essence very small pieces that are used to close off a hallway or room where there is no room for any other pieces. Even though these pieces are small, making sure they connect and look smooth everywhere can become pretty involved, especially if you want decent variety in them.
Designing a dungeon to be an above ground complex comes with its own set of pros and cons. It demands you put more thought into the overall structure and layout of your dungeon, which results in a more consistent design at the expense of randomization. Typically my approach to the above ground kind of dungeon is to either design a series of separate structures with randomized elements within them (see the Human Prison), or one grandiose structure with a lot of areas that can be randomized (see the Glitch Castle). Using the latter approach, multiple layouts are critical to increasing variety and reducing repetitive elements (particularly when players encounter the same dungeon type repeatedly). The more layouts I’m able to make, the better the end result will be.
Which brings me to the Outpost.
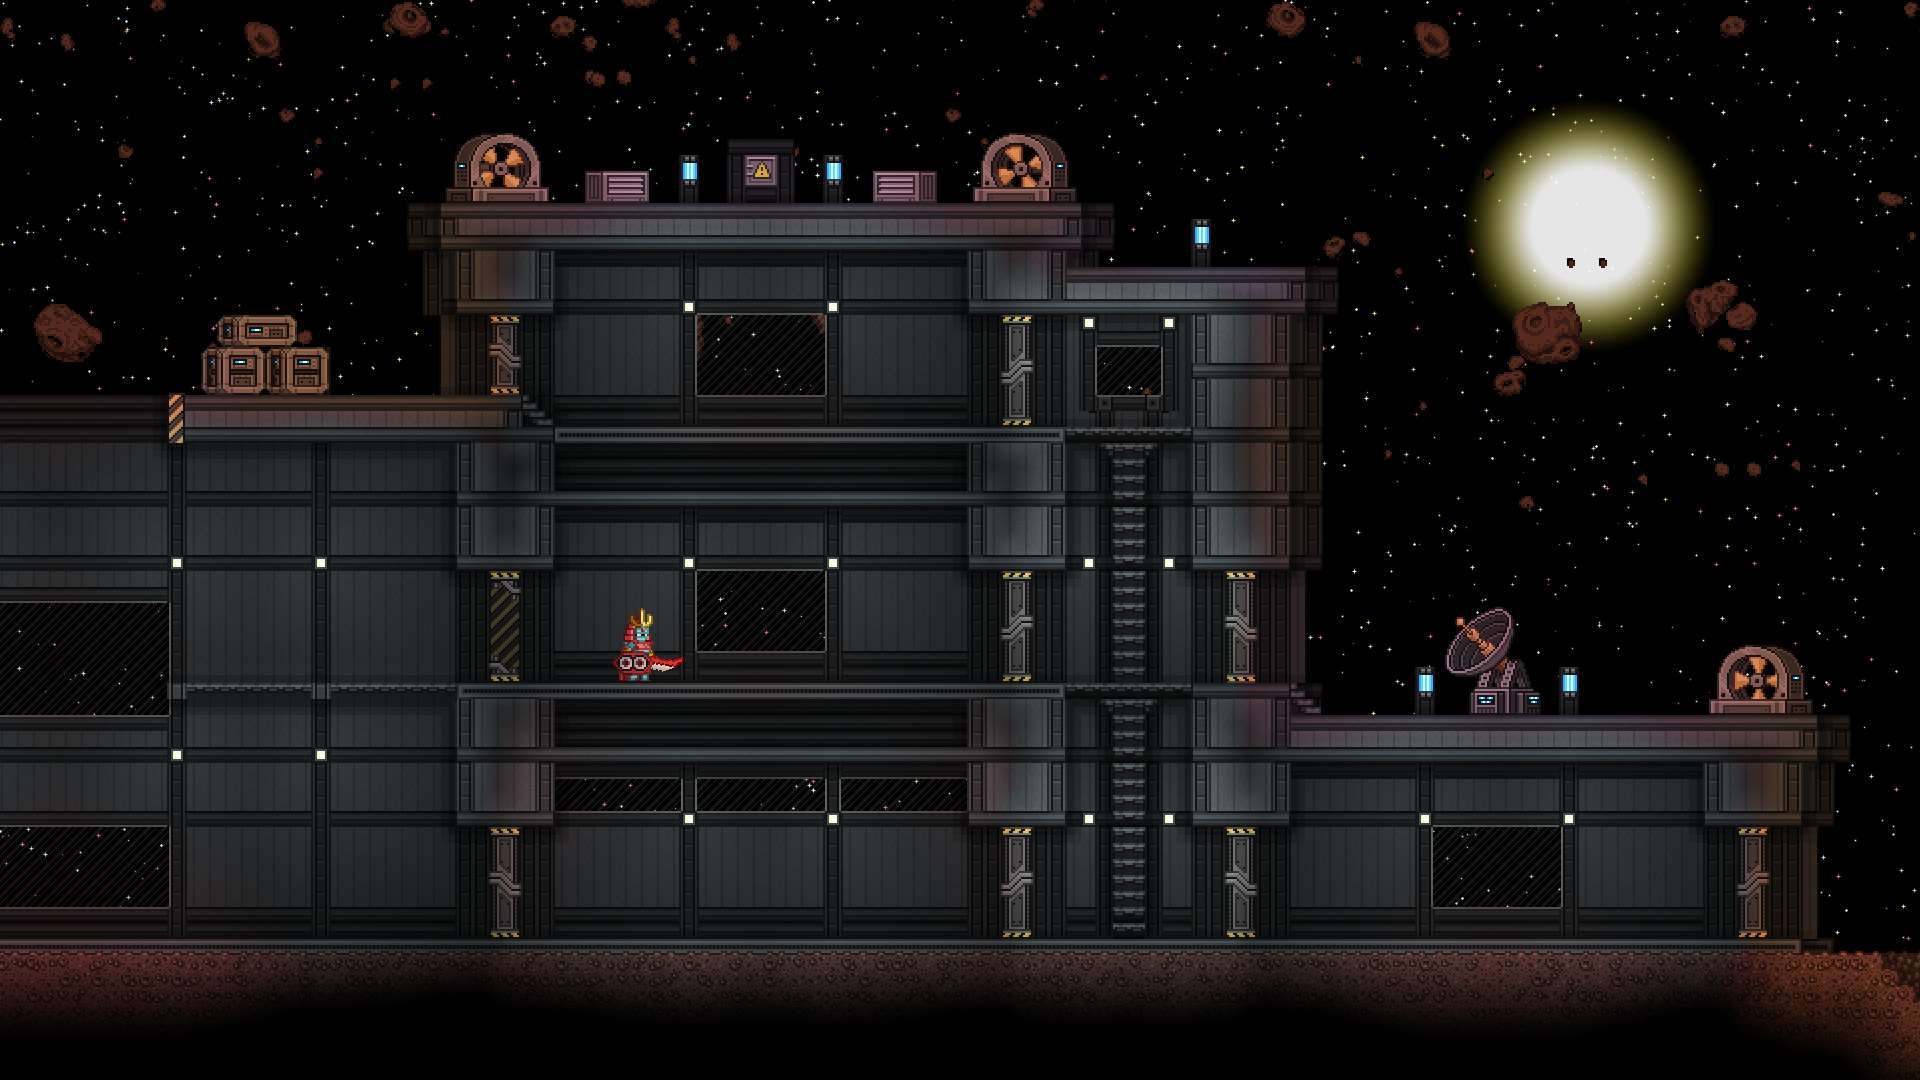
This is just the barebones structure right now, hence the lack of decoration indoors. The main focus has been laying down my foundation, working out precisely how large the rooms are going to be, how much will be randomly picked and how much will be clearly defined.
The outpost will be a relatively small scale dungeon, and I’m structuring it in a fashion similar to the Glitch castle with multiple layouts planned to mix things up. Making multiple layouts for the castle was fairly long-winded due to the sheer scale and my determination to ensure each layout was decorated differently. The outpost being smaller in scale means I’ll be able to produce more layouts far more rapidly, but my initial goal will be getting all the smaller rooms finished first.
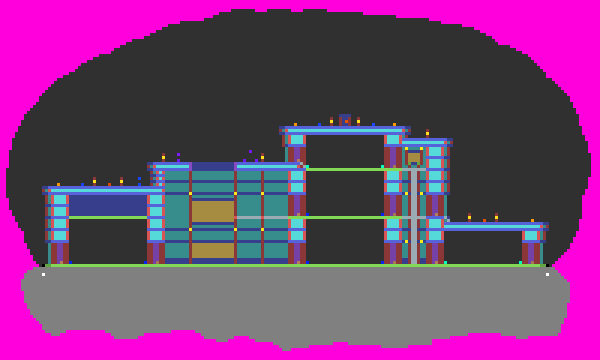 In this map of the first outpost layout, the large grey areas within the structure are where the game can place randomly selected rooms. The more rooms and layouts I create, the more variety players will get.
I hope this gives you guys a bit more insight to my design process and the various ways the dungeon system can be used. I’m looking forward to sharing a more full-featured version of the outpost soon!